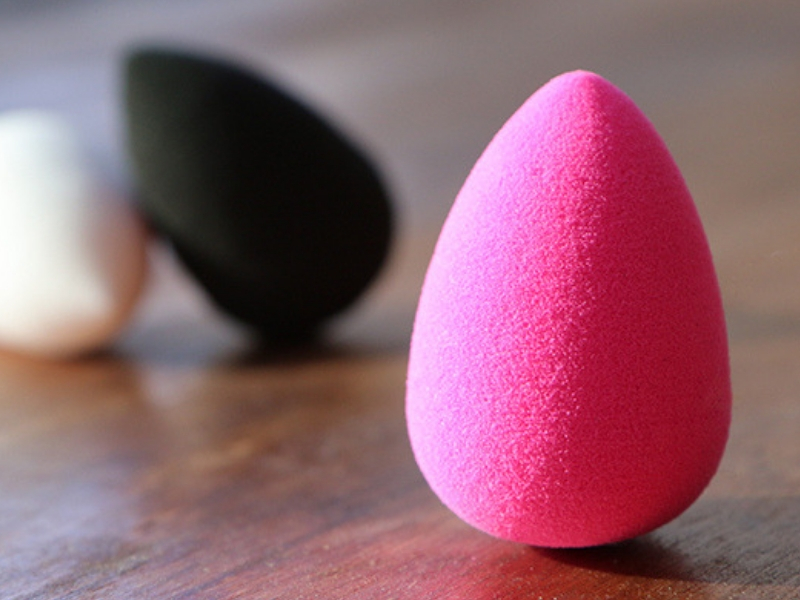
Are you using your beauty blender right?
Beauty blenders have become as crucial to my makeup routine as, well, makeup. Everyone from top-level makeup artists to everyday gals like myself seem to have at least one floating around in their toolkit, and for good reason. These babies give you a flawless, airbrushed complexion while not costing a bazillion dollars! Anyway, I was getting ready for a night out with a gal pal and OH MY GOODNESS she was using her beauty blender DRY. After my initial shock, I changed my friend’s life by showing her the magic of this egg-shaped sponge, when damp in its final form. It occurred to me that perhaps she wasn’t the only one making this beauty faux pas, and perhaps there were beauty blender mistakes I was making as well.
I’ve done the research and you can reap the benefits; here are your beauty blender need-to-knows:

WET YOUR BEAUTY BLENDER. This is the golden rule – the beauty blender does not work as intended if it is dry. A damp blender will not absorb your product, so you will get the most out of it, and therefore helps to ensure even coverage and a dewy complexion. Wet the blender until it is completely saturated, squeeze out the excess water and you’re ready for all manner of magical makeup techniques.
If you’re applying liquid or primer, stipple, don’t rub! Dab your blender in your makeup and bounce it along the skin, pressing lightly on the surface. This motion blends while depositing makeup, which makes it look more natural. The pointed tip allows you to get into every nook and cranny, but bounce, always bounce. Weee!
Use the same technique to apply powders as liquids, but double check that all of the excess water has been squeezed out! Use the thinner end of the blender when using highlighter powder for very precise high cheekbones.
Cream blush may offer one of the most natural flushes, but is tricky to apply without ending up with a doll-face. The beauty blender makes it super simple; just dab on your blush, then use gentle sweeping motions to blend it onto your cheeks. Cream concealer? Just use the thin tip to stipple, twist and dab, so there are no obvious edges.
If you prefer to apply your makeup with your fingers rather than brushes, your beauty blender is the perfect finishing touch to smooth and refine your makeup for a clean finish.
Something I had no idea about – you can use your beauty blender on so much more than makeup! You can apply serums, eye creams and moisturisers with a damp beauty blender to ensure you waste no expensive skincare, OR ensure a streak-free self-tan.
The ONE TIME it is ok to use a dry beauty blender is to erase your mistakes. Use the dry blender to buff away blush overload, foundation lines or excess eyeshadow. Instead of bouncing it, drag it. The texture and motion acts as an eraser, lifting off excess without leaving any traces behind.
In cleaning your beauty blender, DO NOT use dishwashing liquid. This is way more common than I thought it would be. This product was never made to be kind to skin, and the residue could still end up on your face next time you use your blender! Use a gentle facial cleanser if you don’t want to buy a specific blender cleanser. Cover the blender in your cleaning product, squeeze (delicately), rinse, squeeze, repeat. Ideally wash your beauty blender after every use, but at minimum once a week – don’t smoosh old bacteria onto your face!
Store your beauty blender in an open, clean environment. Don’t have it rolling around in your bag or drawer collecting bacteria! Swap out your beauty blender every three months, just as you would your toothbrush.
I hope I’ve helped your faces become a little more airbrushed and dewy. Blend away, team!


